Beer Brewing
Self sufficiency was always a fascinating topic I was interested in. So naturally as a german it's no wonder I
had the desire to brew my own beer.
As a christmas present from my girlfriend I received a brewing set for beginners. This wasn't anything fancy but
perfect for my first try. It's for brewing a classic Munich Helles type beer and includes all the basic
equipment one may need aswell as malts, hops and yeast.
I also looked into buying equipment earlier last year but never had the courage to actually purchase anything.
After visiting relatives and family for christmas I finally had the time to start brewing.
The process is quite time intensive and took me multiple hours at a strech.

Different phases of the brewing process (image source)
The first step would involve bringing 6L of water up to temperature for mashing.
Mashing is the process of extracting the sugars out of the malt.
The prcess took about an hour and needed a constant temperature range between 65-69°C for most of the time.
Since I do not have a temperature controlled self heating pot or brewing pot/kettle I used the biggest pot I
own.
This meant that I needed to carefully monitor the temperature. To stay in the desired range I regularly moved
the pot from and to the cooktop.
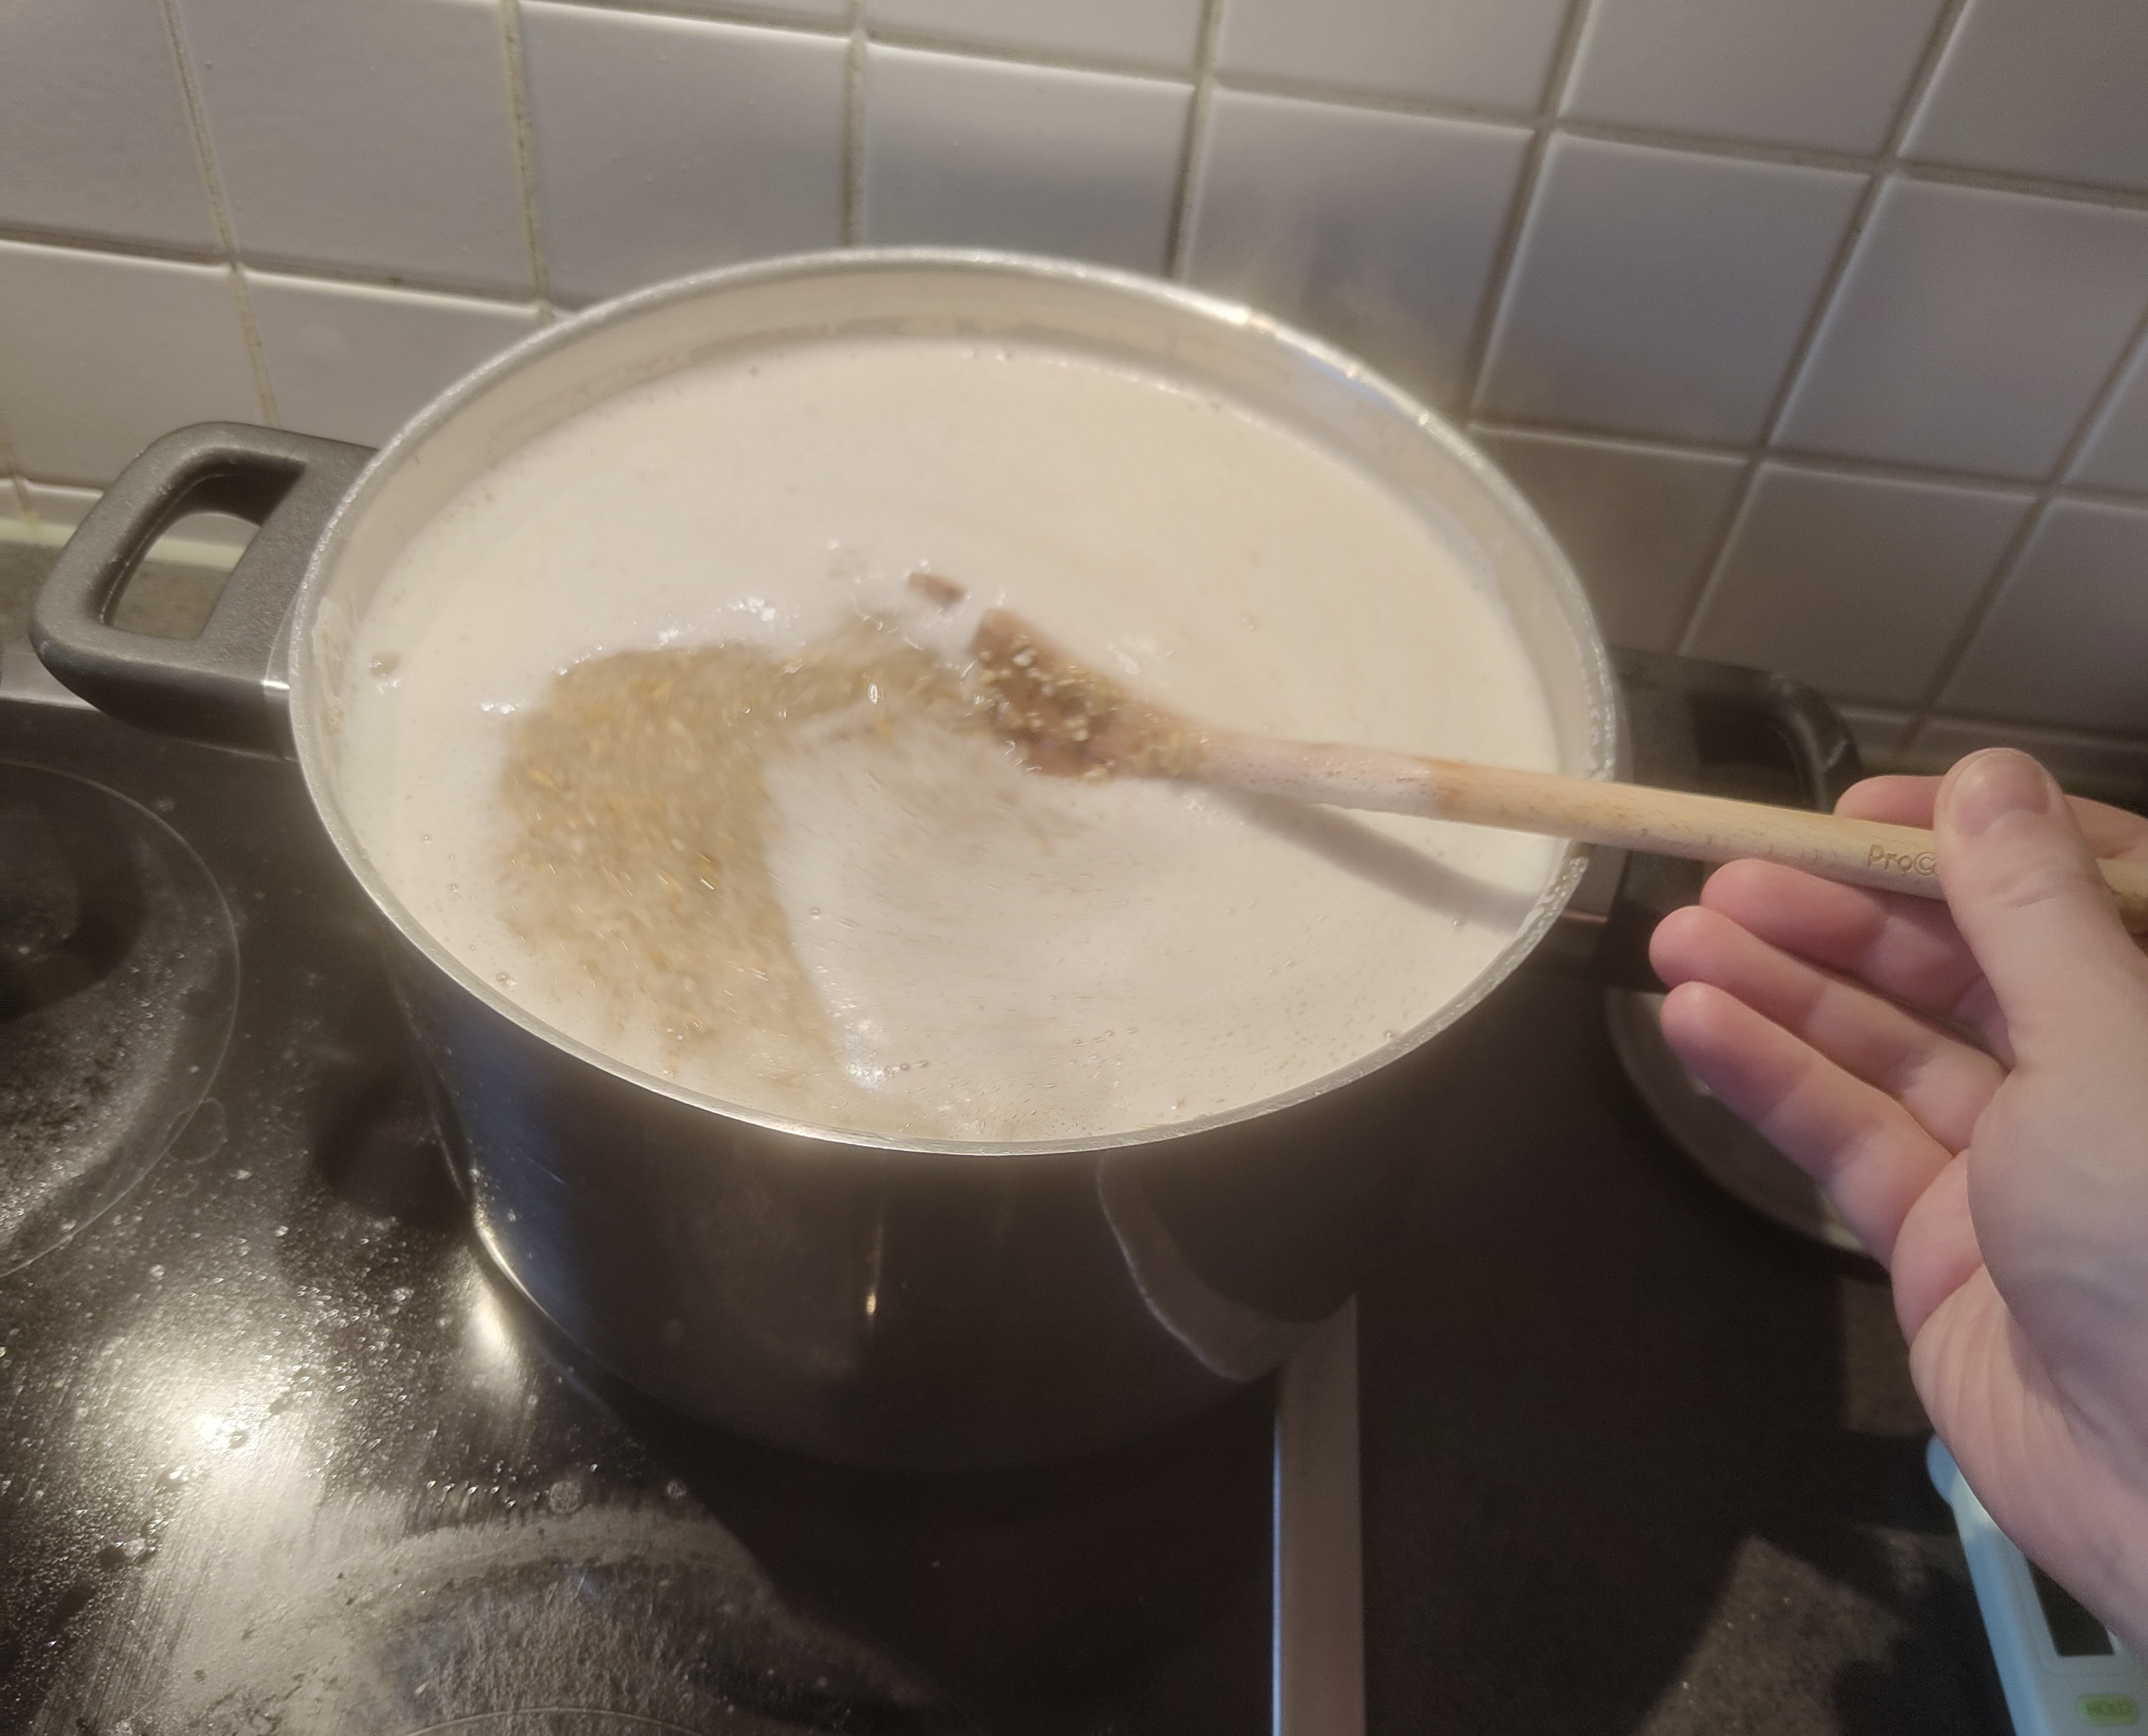
Mashing
Lautering the wort, which means separating the liquid containing all the sugars from the used malt, was the next step. I used two strainers, one of them I bought in Kappabashi Street in Tokyo originally for cooking ramen noodles which didn't have quite a fine mesh as desired.
I first used a big scoop to transfer the malt into the strainers. Afterwards I slowly fed all the liquid through the malt which was acting as a filter to extract all left over sugars still contained in the grains. This was by far the most tedious and time consuming activity of the whole brewing process. I needed to do at least two iterations and didn't have a big enough container to hold all the liquid which forced me to use 3 seperate pots to hold all of it.
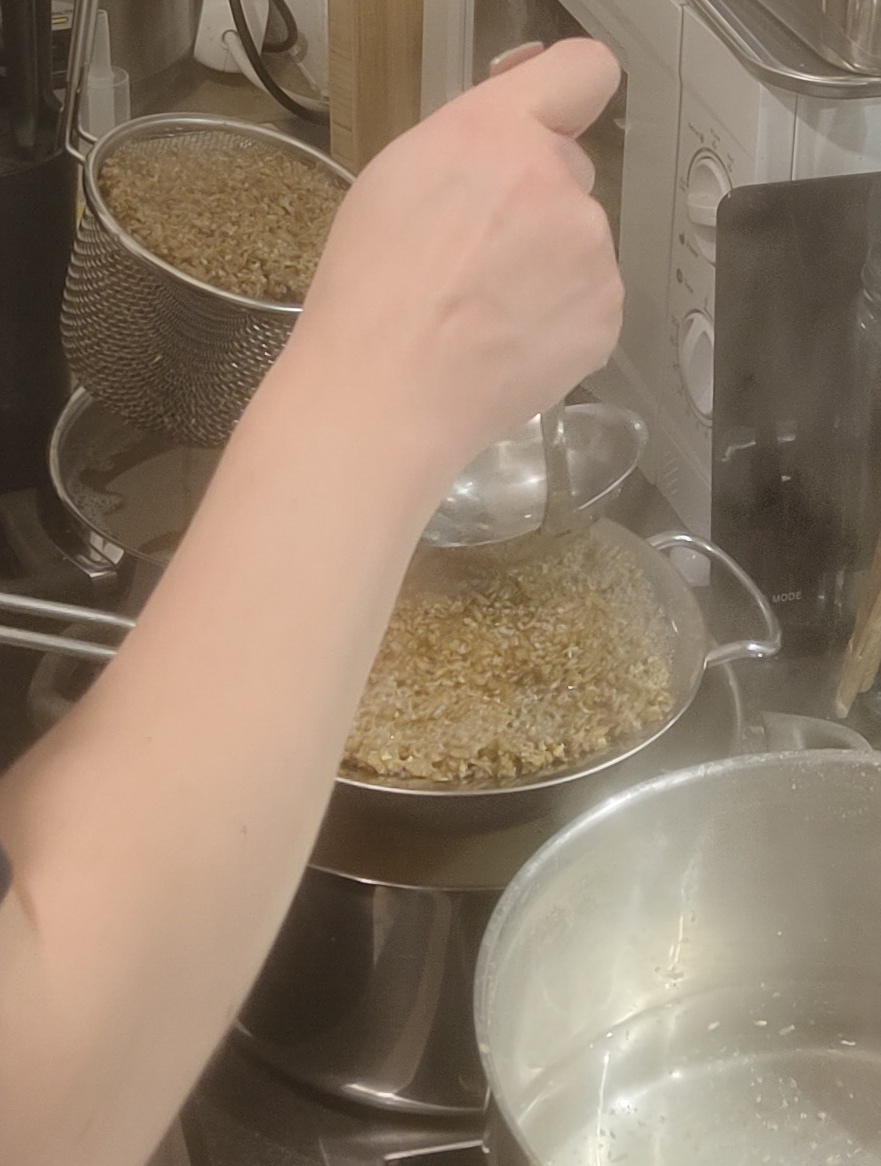
Lautering
With the lautering finally done I could continue with bringing the liquid to a simmer and adding the hops to it after around 10 minutes after a boil.
Most of the recipes I saw online added multiple hops at different stages of that boiling phase but the one I was following from the guide book only contained adding hops once. I guess I'll see what effects this has on the flavor profile.

Boiling and adding hops
After boiling for 50 minutes longer it was finally time to cool down the wort. I've read the faster this happens the better but since I'm a total beginner and have no clue, take this statement with a grain of salt. To efficiently cool down the wart I placed it in my sink filled with cold water and ice cubes. It took about half an hour to reach the desired 25°C which was fairly quick in my opinion.
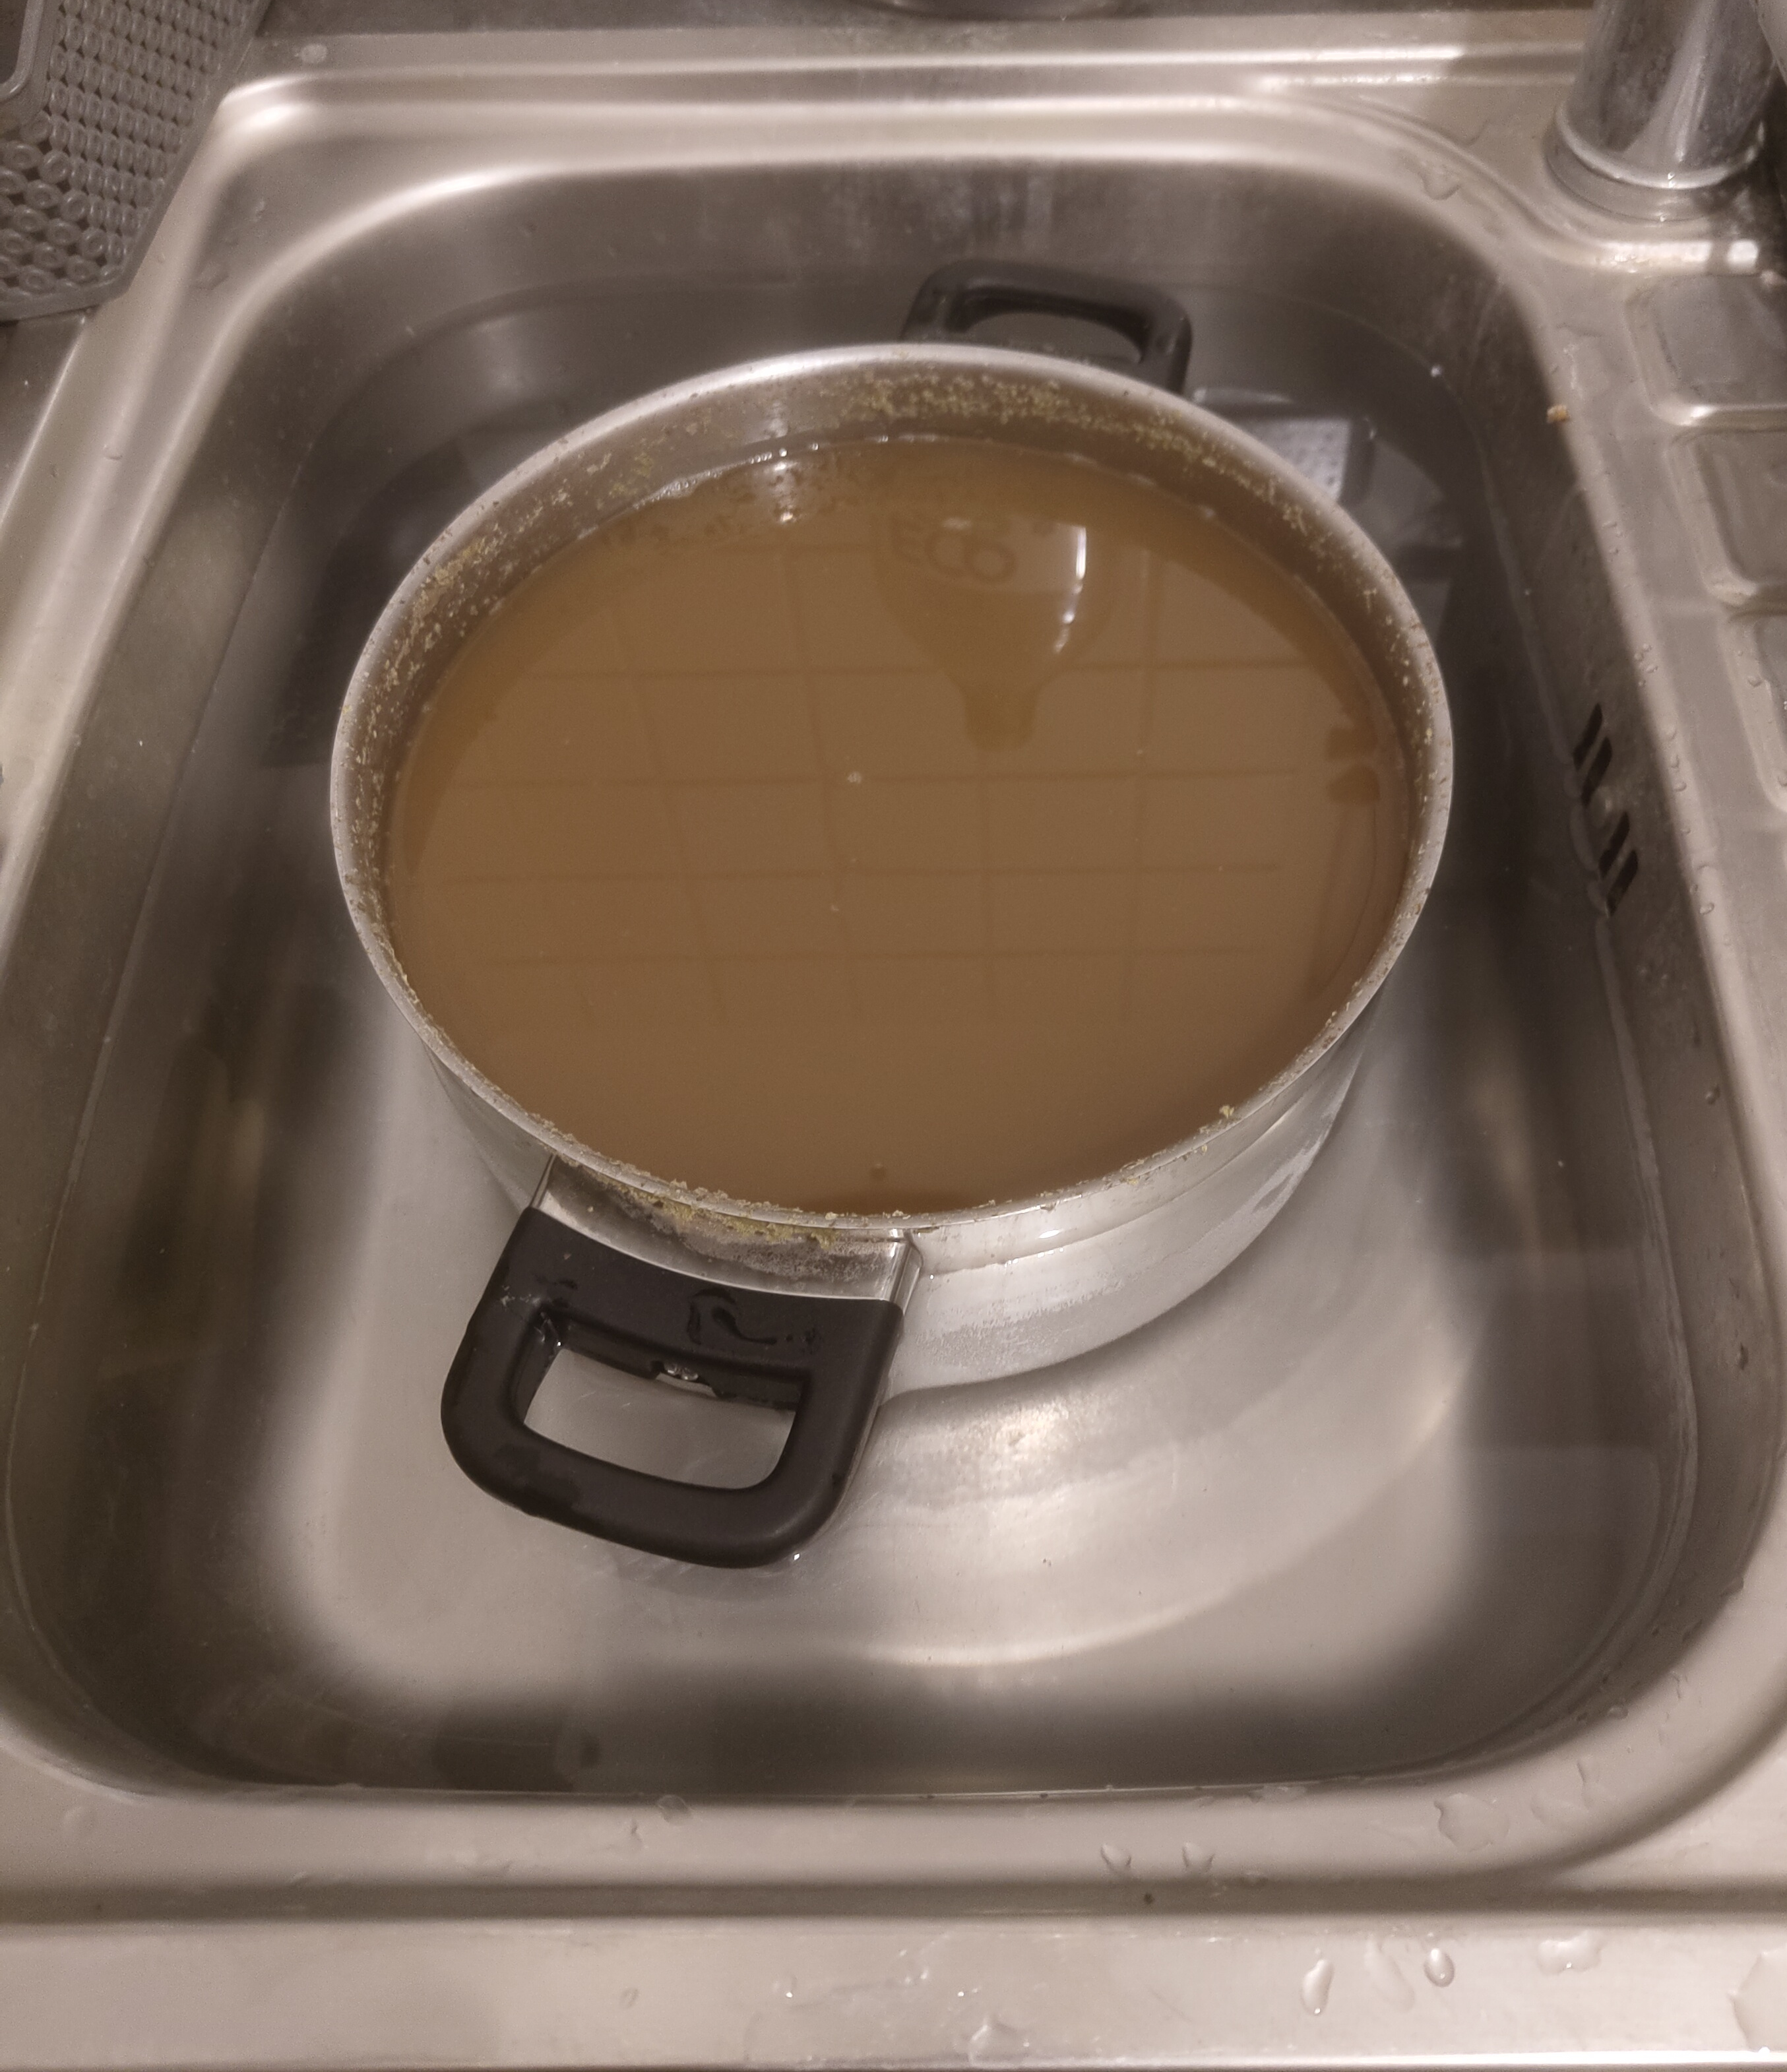
Cooling down the wart
The last step on my brewing day was to transfer the wort to the fermenting container included in the brewing set and add the yeast to it. After everything settled in the container I noticed there's still quite some sediment in there, not sure if it's all the sugars or traces of left over malts.
Storage
Now it's time to wait until the yeast eats all the sugars and converts them into alcohol. This process takes around seven to ten days. To be sure the process is finished I'll leave it undisturbed in a room with a temperature around 19°C for the full 10 days.
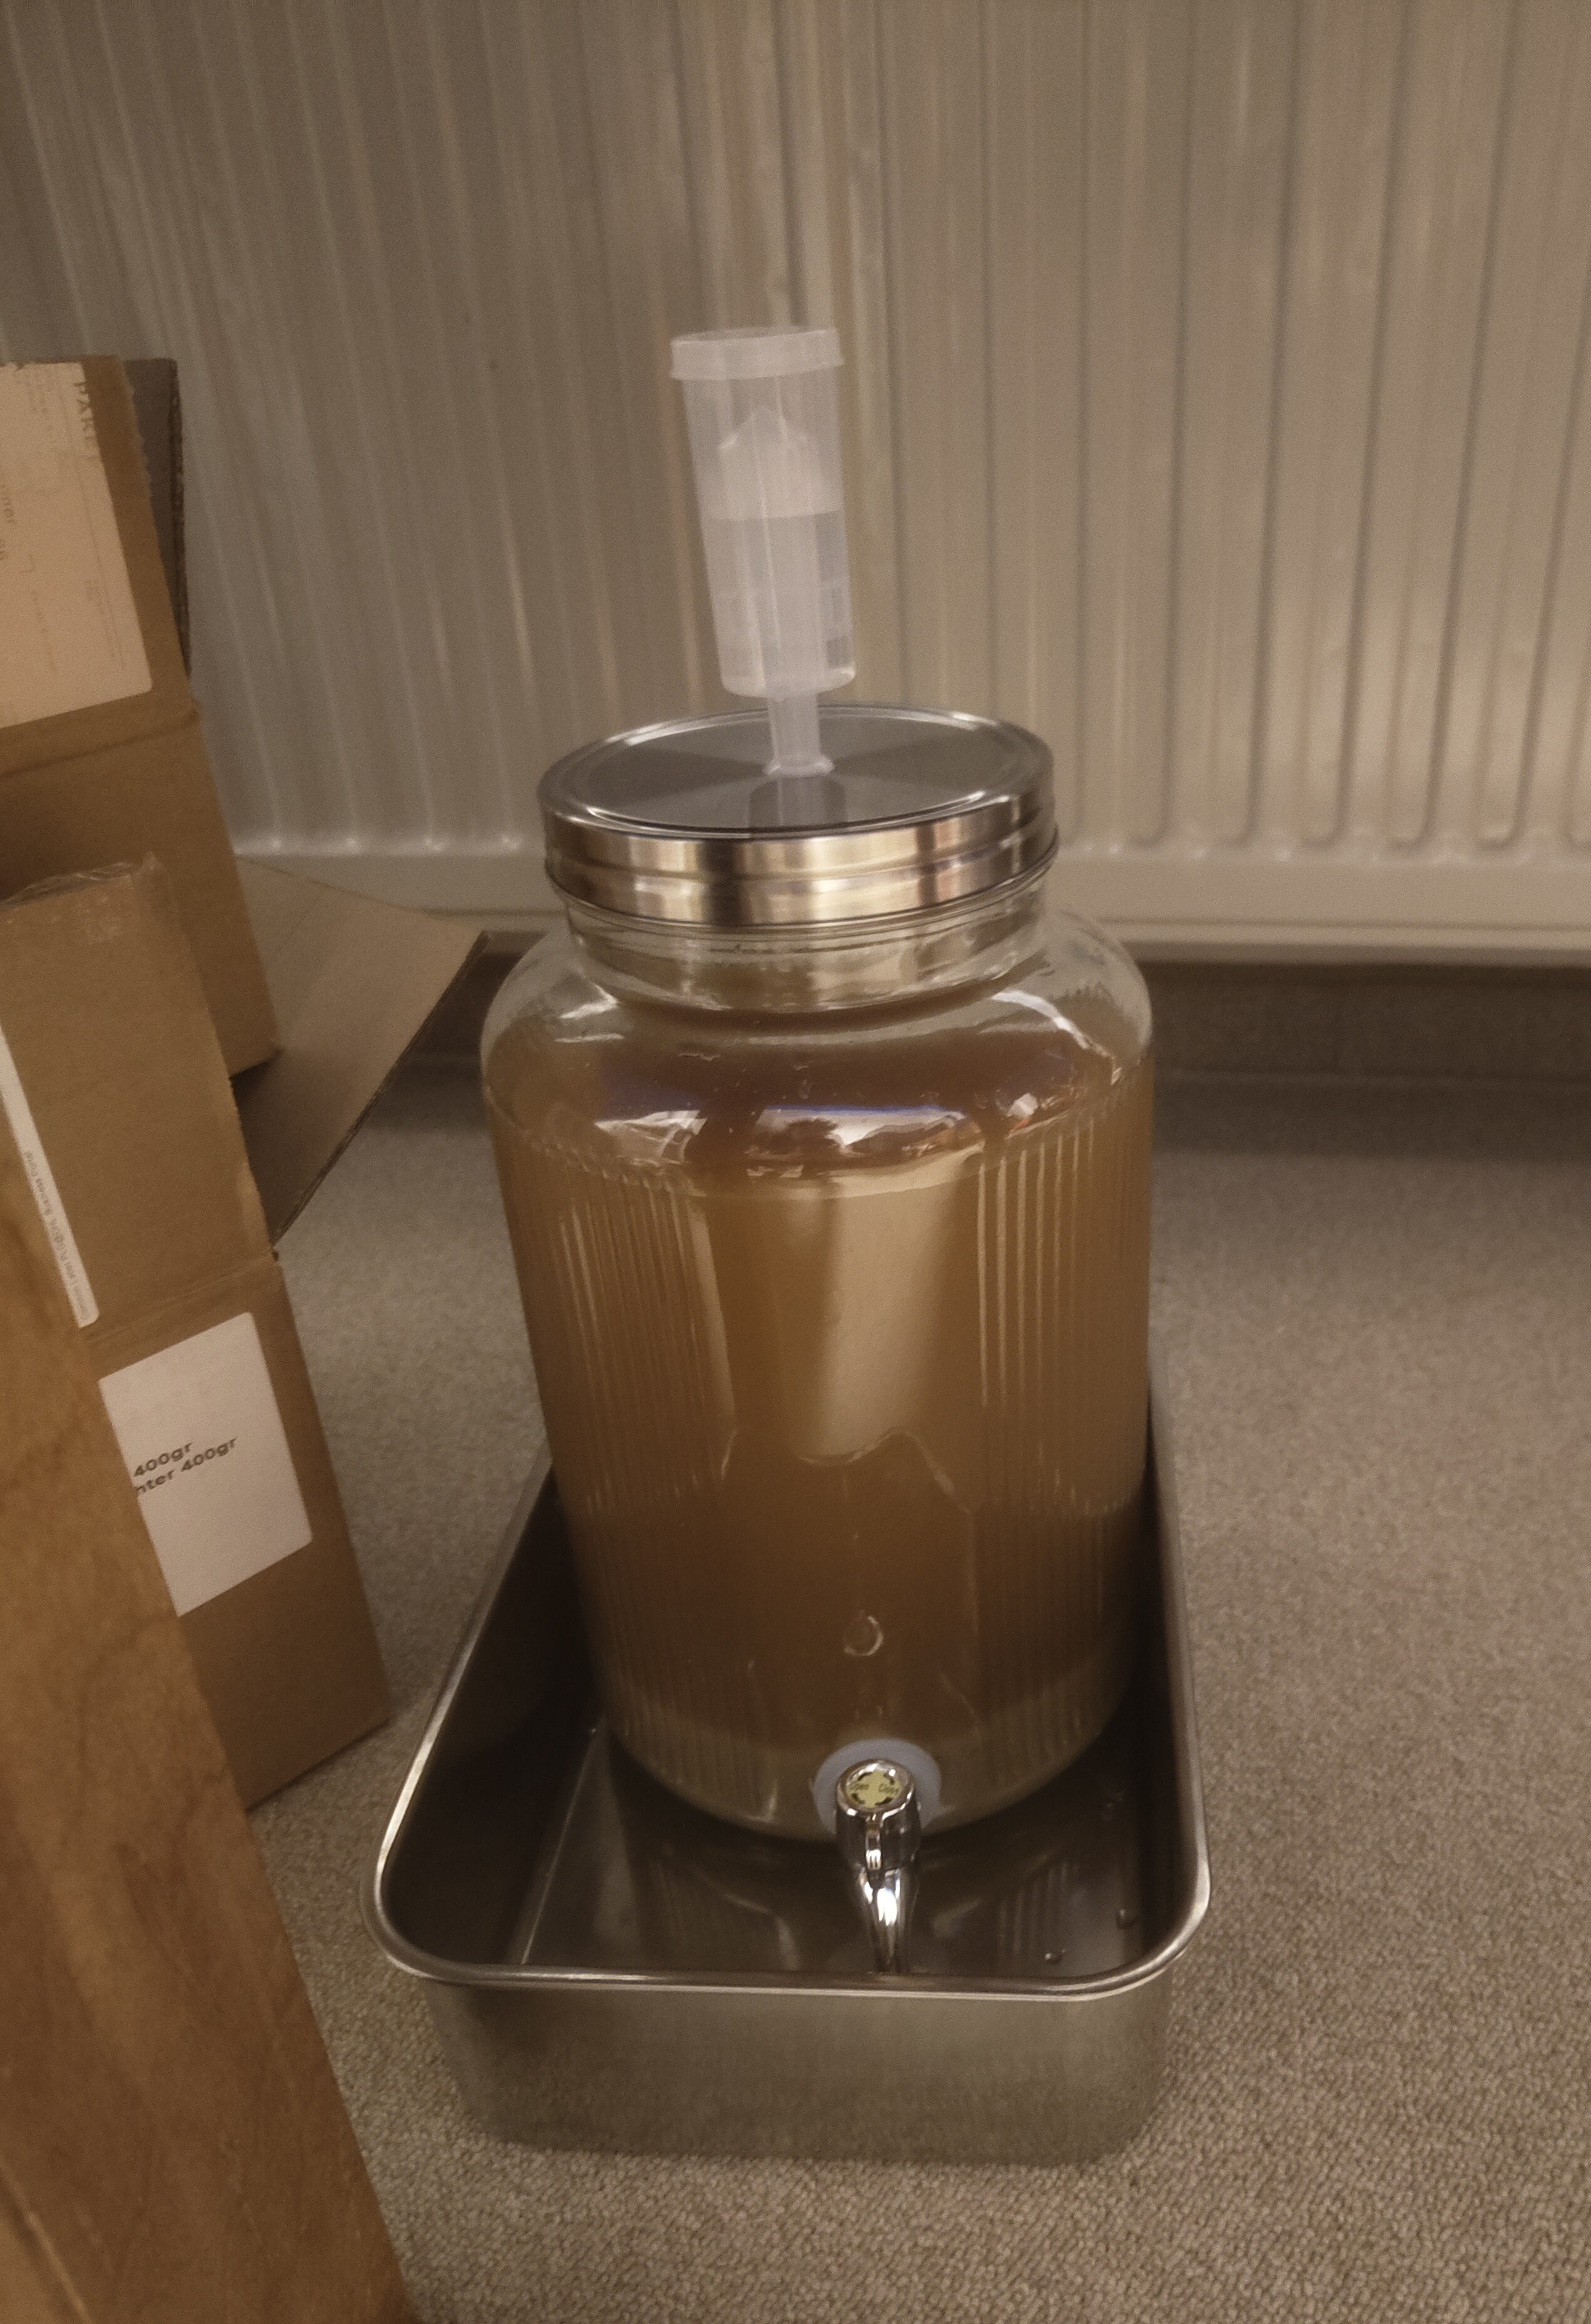
As of writing this post we're currently on day 6. The first one and a half days had no signs of fermentation which made me nervous that I missed a step or did some some steps wrong. But fortunately it finally started bubbling and fermenting.
From this morning the fermentation isn't as active anymore but you can still see some signs of activity. I also have the feeling that the amount of sediment decreased a little bit but there's still quite a lot of it in the tank.
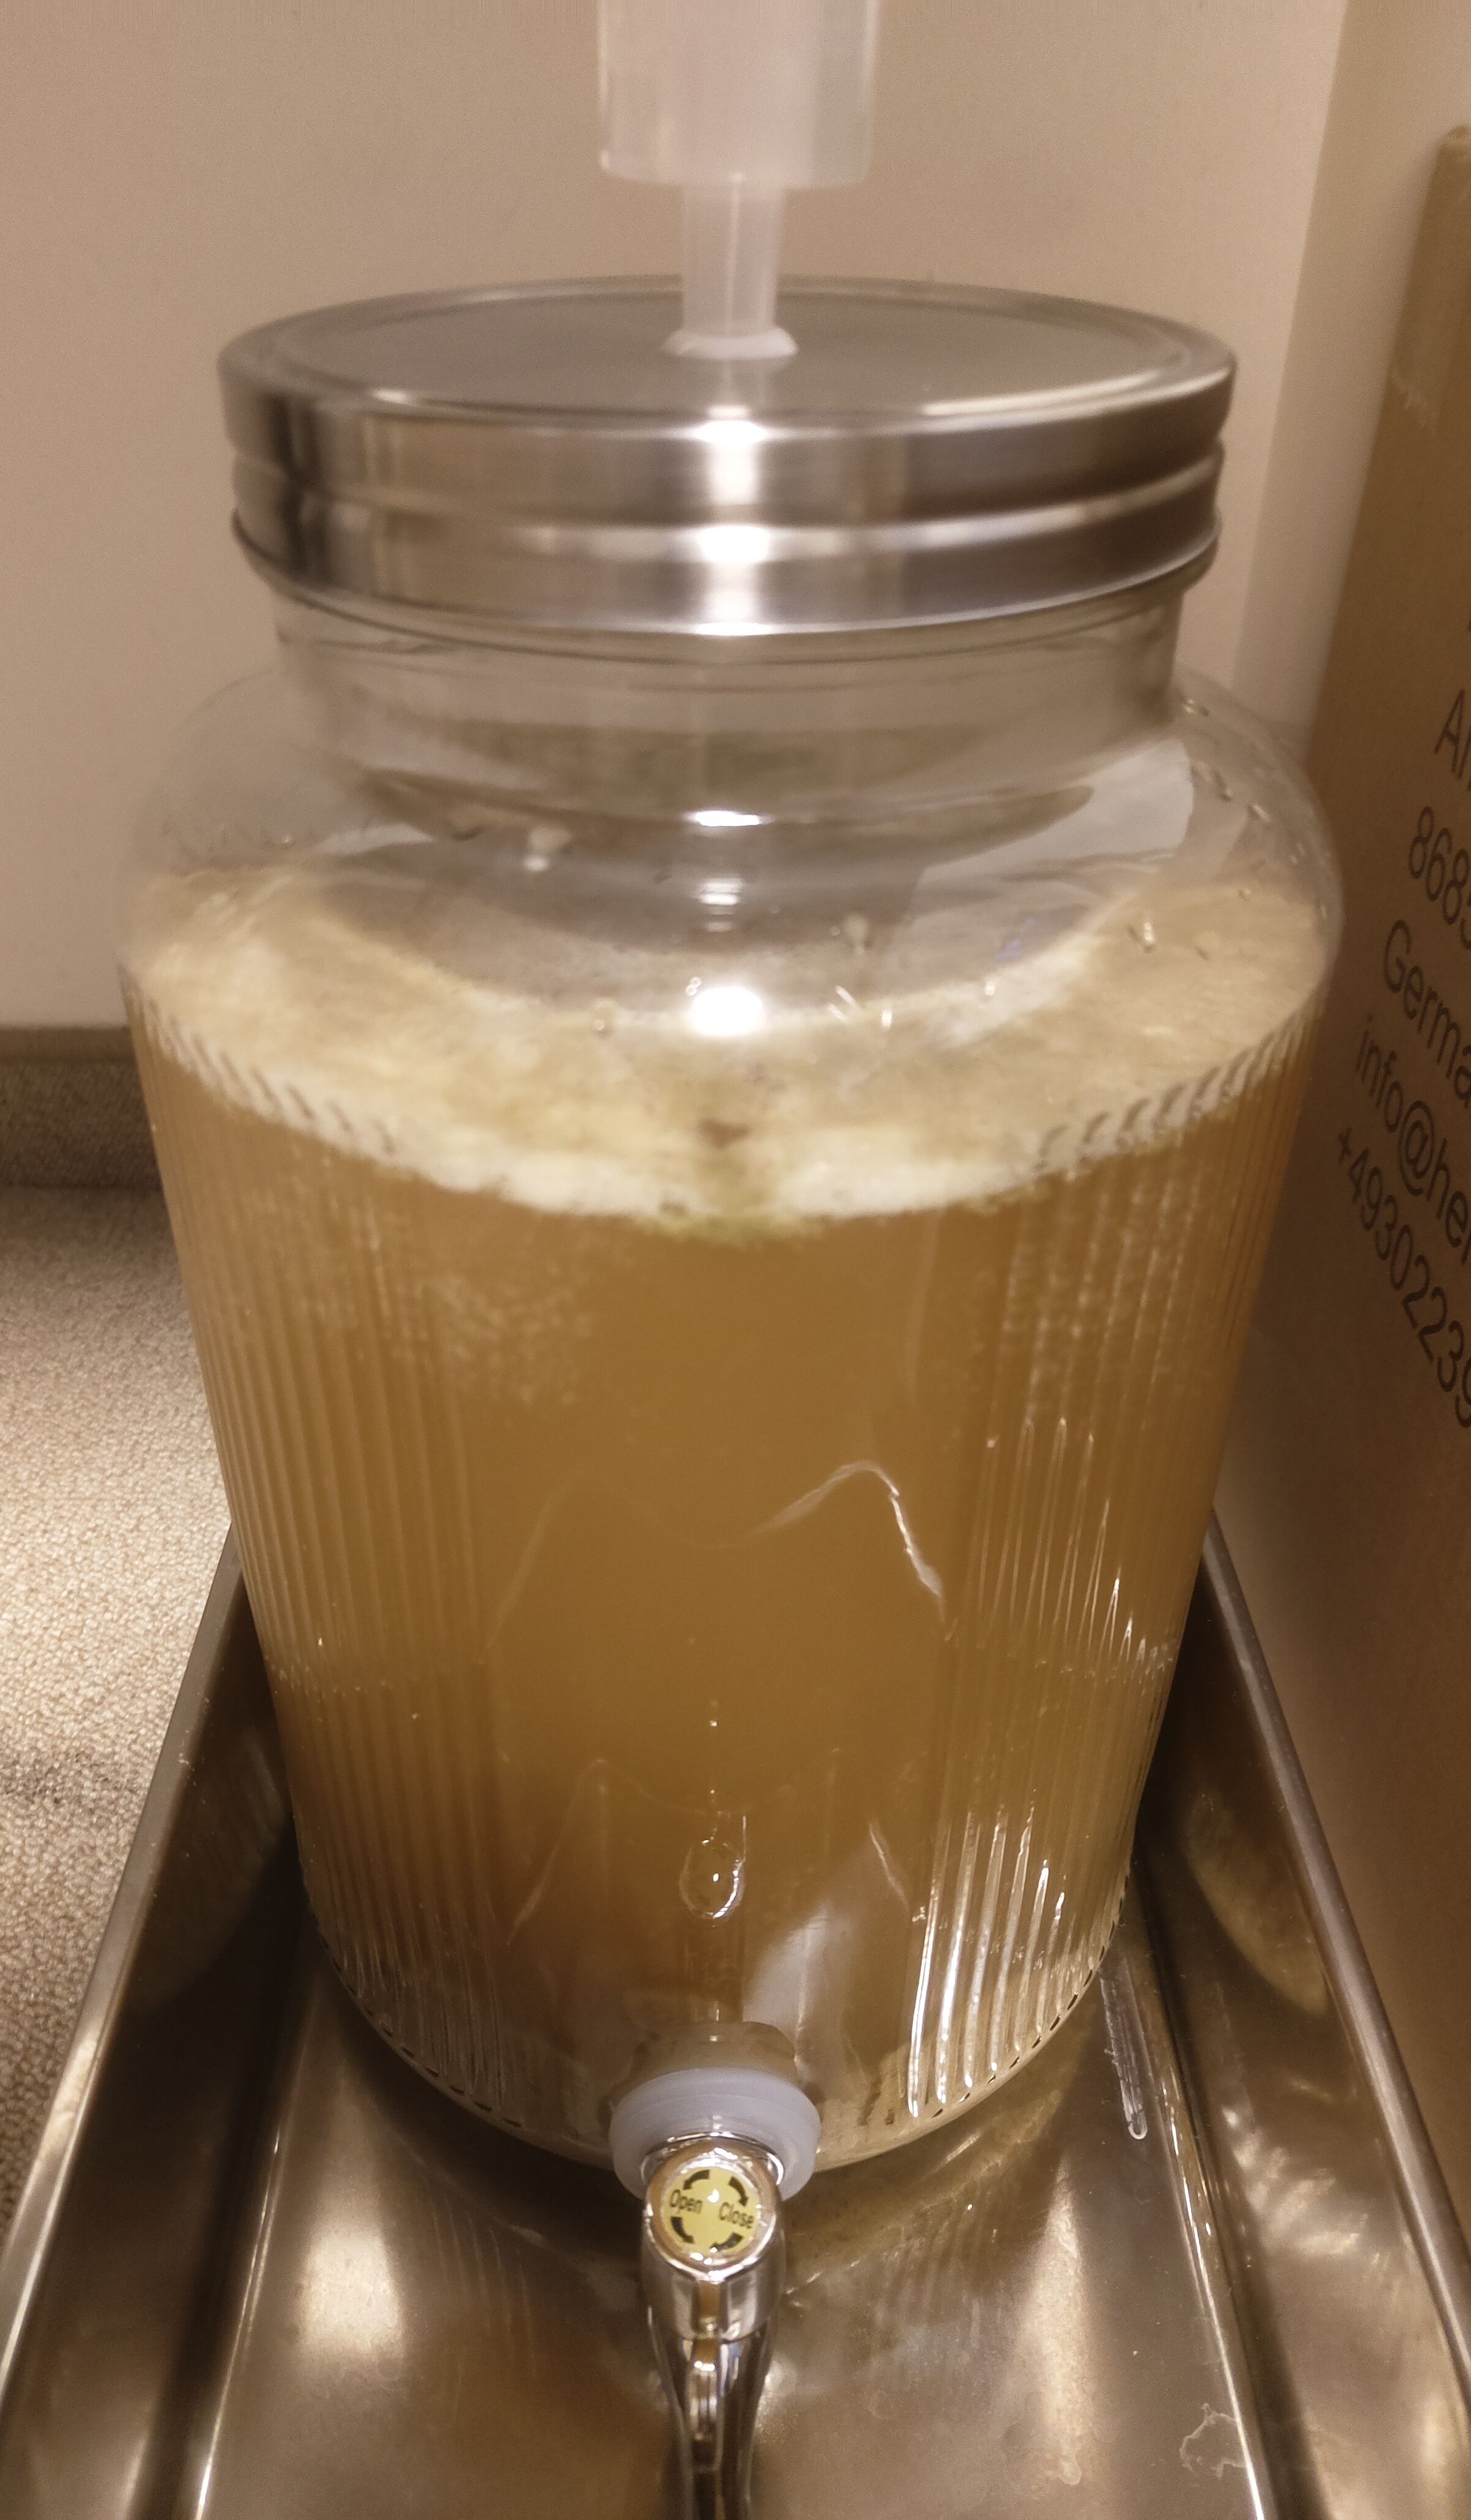
Visible fermantation
That's it for this post! I'll keep you updated wit part 2 after bottling the beer.